When inspecting a car yourself before buying, first pay attention to the body's condition for signs of accidents and corrosion, check if the interior wear matches the declared mileage, listen to the engine on a cold start, and inspect the engine bay for fluid leaks. It's also important to assess the suspension during a test drive and carefully check the documents. This basic checklist will help you filter out obviously problematic cars, but it's no substitute for a full inspection at a service center. A self-check is the first filter that lets you know if it's even worth spending time and money on a more in-depth inspection. Even without special equipment, you can spot signs of poor repairs, worn-out components, and other red flags that the seller may have knowingly or unknowingly concealed. Remember, your goal isn't to find a perfect car, but to avoid buying a 'pig in a poke' that will cost a fortune to repair.
Step 1: Inspecting the Body — Looking for Signs of Accidents and Corrosion
The body inspection is the first and most crucial step, as the car's geometry and the condition of the metal are fundamental to its safety and longevity. Start your inspection in daylight, preferably with the car clean and dry. Walk around the car from all sides, looking closely at the paint shades on different panels—doors, fenders, hood. Even a slight difference in shade or texture (orange peel) can indicate that a part has been repainted. Squat down and look along the sides of the car: distorted reflections of light will reveal poorly repaired dents. Using a paint thickness gauge is ideal, but you can see a lot even without one.
Next, pay attention to the gaps between body panels. They should be uniform along their entire length. Uneven or overly large gaps between the hood and fender, or between doors, are an almost guaranteed sign that a panel has been removed, repaired, or replaced. Open all the doors, the hood, and the trunk, and inspect the mounting bolts. If the paint on them is chipped, it means the part was unbolted. Check the seals on the doors and underneath them—this is where corrosion often starts. Don't be shy about looking inside the wheel arches and at the sills; these are the most vulnerable spots for rust.
Pay special attention to the frame rails and structural elements of the body, as much as you can without a lift. Look under the hood and in the trunk, lifting the carpet. Look for signs of welding, fresh sealant that differs from the factory application, or metal deformation. Signs of repair on these elements are a very bad sign, indicating a serious past accident. Also, check all the glass for markings: they should be the same on all windows. If the year of manufacture on the glass doesn't match the car's year or differs from other windows, it was likely replaced, which could be the result of an accident.
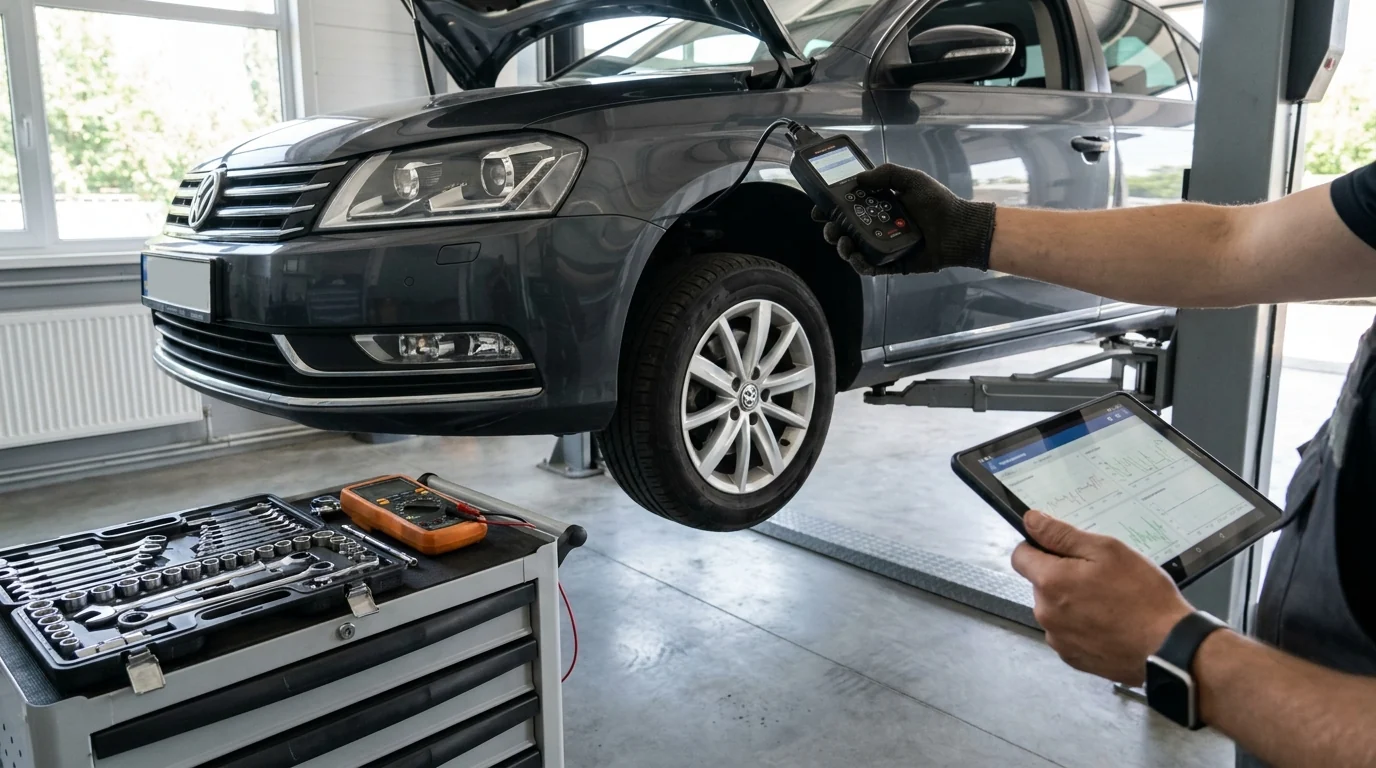
Don't inspect a car in the evening, in the rain, or when it's dirty. Good lighting and a clean body are key to detecting paint and bodywork defects.
Step 2: Checking the Interior and Electrics — Comfort and Hidden Problems
The condition of the interior can tell you much more about the car's real mileage and the previous owner's attitude than the odometer. Start with the steering wheel: on relatively low-mileage cars, it usually has a matte texture, not a glossy shine from wear. A heavy gloss, worn leather, or a newly re-wrapped steering wheel on a low-mileage car is a reason to be skeptical. The same applies to the gear knob, pedal covers, and the driver's seat, especially its side bolster. If these elements look too worn for the declared mileage or, conversely, suspiciously new, the mileage has likely been rolled back.
The next stage is to check all the electrics. Don't be lazy; methodically press every button in the cabin. Check the power windows (all of them, in both automatic and manual modes), mirror adjustments and heating, central locking, air conditioning (should blow cold), and the heater (should blow hot). Turn on the stereo and check all the speakers. Look at the instrument panel when the ignition is on: all warning lights (Check Engine, ABS, airbags) should light up and then go out a few seconds after the engine starts. If a light doesn't come on at all or stays on, it indicates a malfunction.
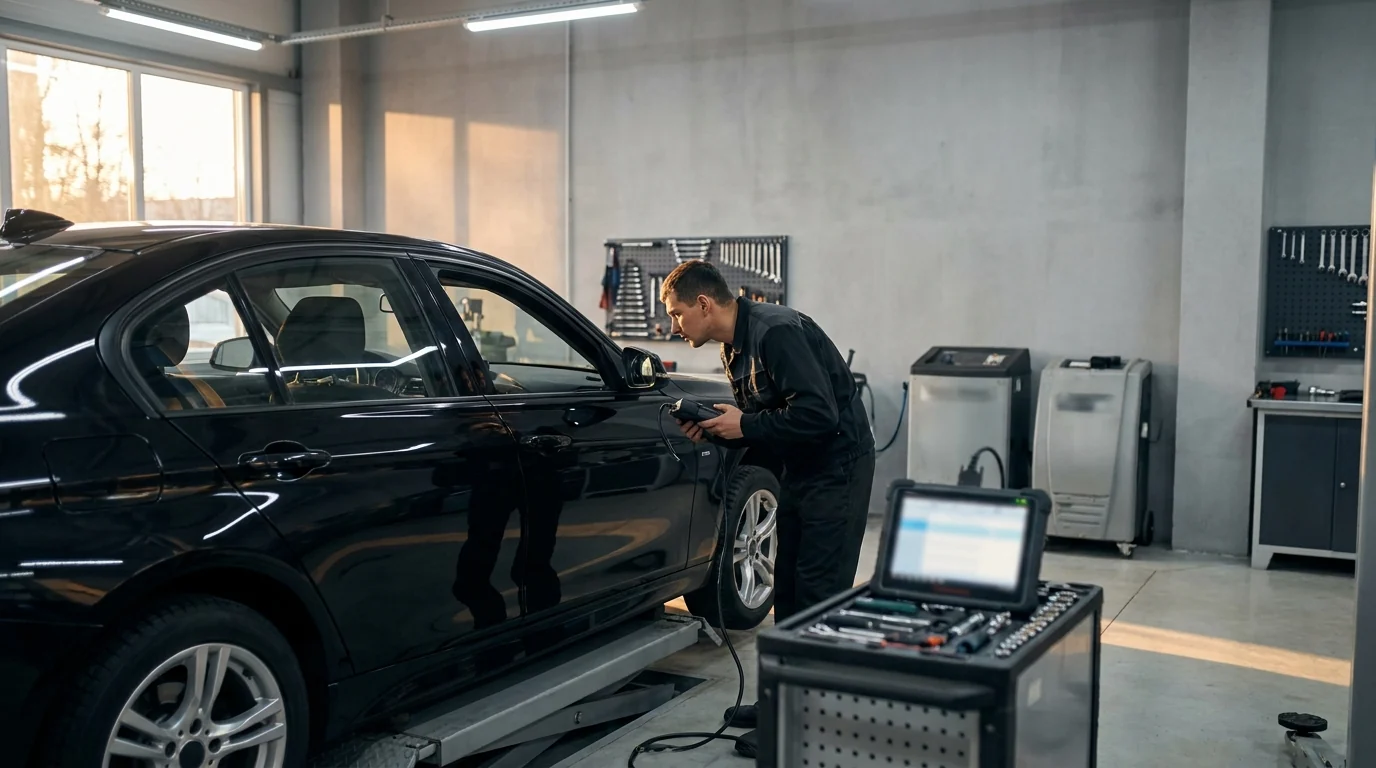
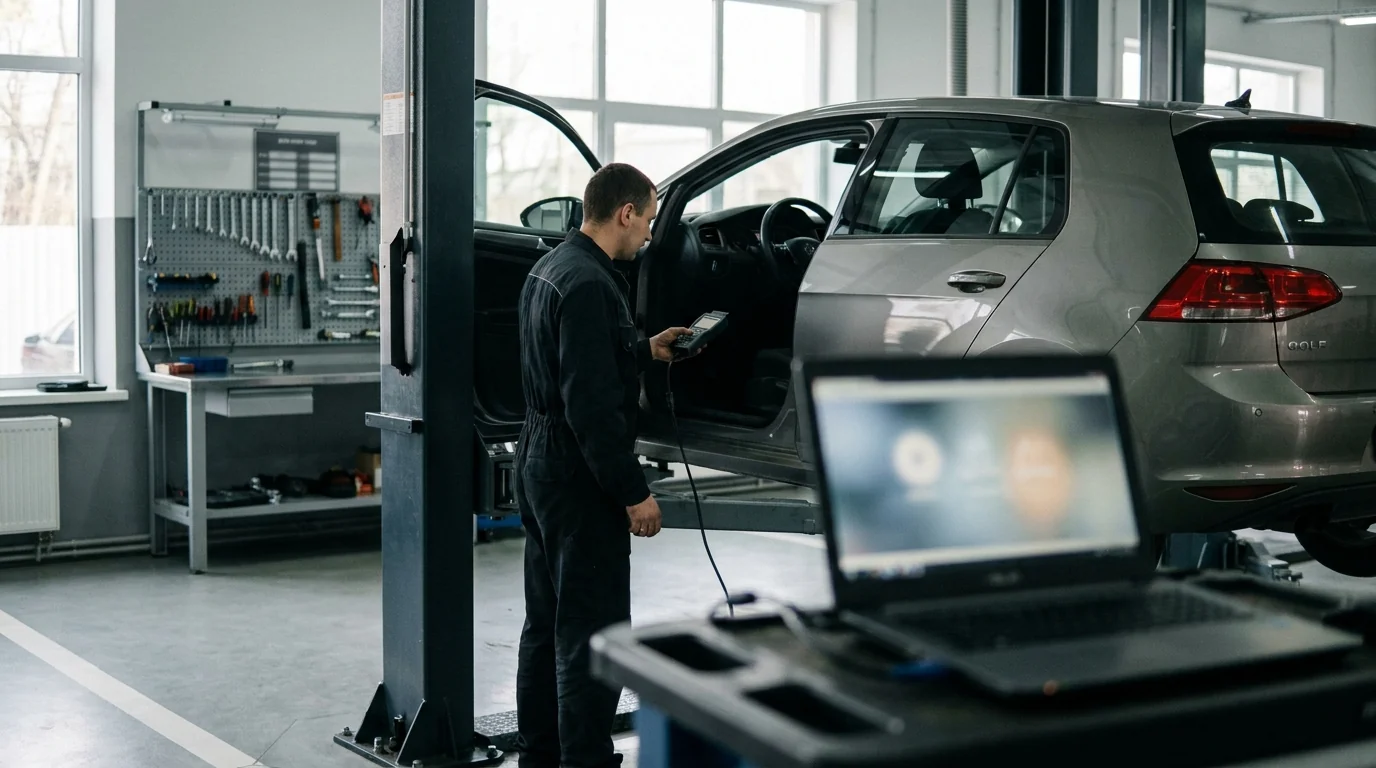
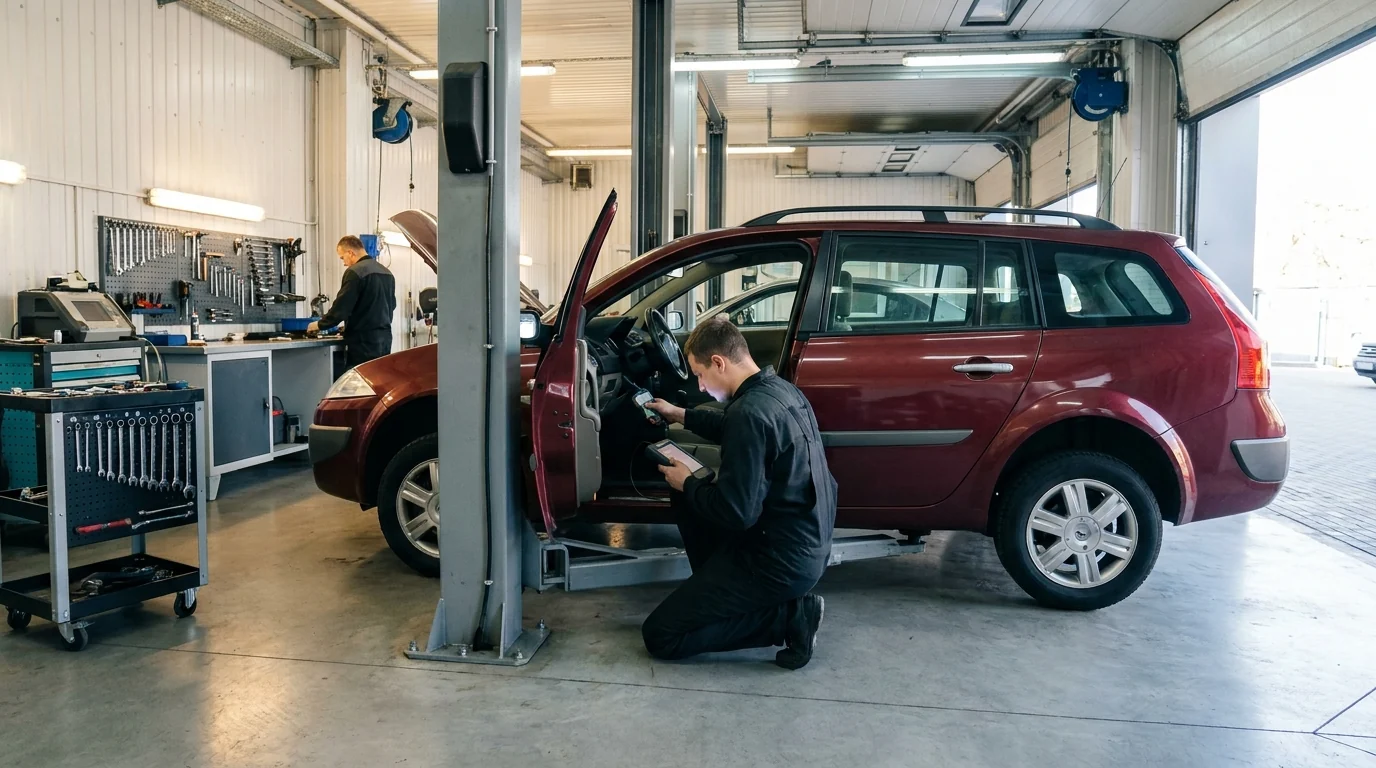
Hidden problems often lurk under the floor mats. Lift them and check the floor for dampness and signs of rust. A musty smell in the cabin can indicate that the car has been flooded or has sealing issues. Inspect the seat belts—pull them out to their full length. The presence of dirt, sand, or signs of mold is also a sign of a flood-damaged car. To get a complete picture of the electronic systems' condition, you need a computer diagnostics for your car, which reads errors from all control units and can detect problems invisible to the naked eye.
The cheapest car is the one you didn't buy because you found its problems in time.
Bring a friend or relative with you. A second pair of eyes might notice something you miss in the excitement of buying, and it can also help you avoid pressure from the seller.
Step 3: Under the Hood — Engine and Fluid Condition
The engine bay should be inspected when the engine is cold—this makes it easier to spot fluid leaks and hear strange noises on startup. Open the hood and first just look at the overall condition: an excessively clean engine can be a sign of a meticulous owner, but it can also be an attempt to hide oil or antifreeze leaks. Look for fresh drips on the engine block, oil pan, and around gaskets and hoses. Check the oil level and condition on the dipstick: it shouldn't be below the minimum mark, and its color should range from light to dark brown. Black oil indicates a delayed oil change, and the presence of an emulsion (a light foam) means antifreeze has gotten into the oil, which is a sign of a serious problem.
Check the coolant level in the expansion tank. Its color should be clean (red, green, blue), without rust or oily spots. The presence of oil in the antifreeze, or vice versa, points to problems with the cylinder head gasket or the heat exchanger. Inspect the brake fluid—it should be transparent. A dark color indicates it needs to be replaced. Assess the condition of the belts and hoses: they should be free of cracks, delamination, or signs of wear.
Ask the owner to start the engine. Listen carefully for the first few seconds of operation. There should be no metallic knocking, grinding, or prolonged squealing. After warming up, the engine should run smoothly, without vibrations or misfires. Press the gas pedal sharply, but not to the redline. There should be no blue smoke (burning oil) or black smoke (fuel system problems) from the exhaust pipe. A small amount of white vapor from a cold engine is normal. Any strange engine noises: knocking, whistling, vibration are a reason for a thorough engine diagnostics by specialists.
Step 4: Suspension and Brakes — Safety Above All
The suspension and brakes are your safety, so their inspection deserves maximum attention, as much as is possible without a lift. Start with a simple shock absorber test: push down hard on each corner of the car and release. The car should quickly return to its original position and stabilize, not continue to bounce. If it keeps bouncing, the shocks are likely worn out. Turn the steering wheel from lock to lock while stationary—there should be no clunks or creaks.
Inspect the tires. Uneven tread wear is a clear sign of problems. If the inner or outer edge of the tire is worn, it indicates an issue with the wheel alignment. Wear in patches or 'cupping' can point to faulty shock absorbers or wheel balancing problems. Be sure to check that all four tires are the same model and size, and that their wear is roughly even. Different tires on the same axle are dangerous and a reason to negotiate the price.
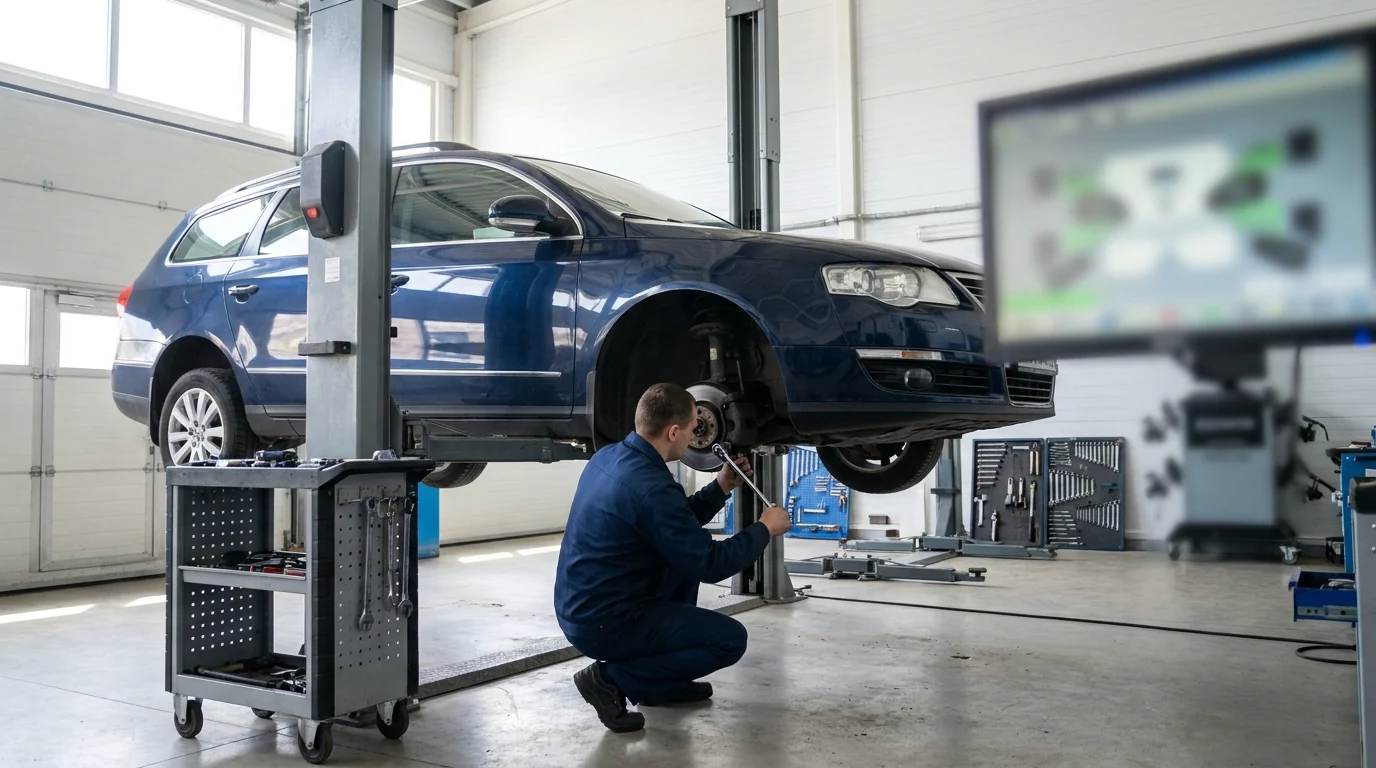
Visually assess the condition of the brake discs and pads. You can usually see the thickness of the pad's friction material through the wheel—it shouldn't be worn down to the metal backing plate. The surface of the brake disc should not have deep grooves, cracks, or a blue tint, which indicates overheating. However, only an inspection on a lift can give a complete picture of the suspension's condition. You can't see the state of bushings, ball joints, control arms, or hidden rust on the underbody yourself. Therefore, this step is best entrusted to professionals during a comprehensive pre-purchase inspection.
Step 5: The Test Drive — How the Car Behaves on the Road
The test drive is a mandatory step that allows you to evaluate how all the components work in motion. Even a short trip can reveal problems that are not noticeable during a static inspection. Choose a route with different types of road surfaces: smooth asphalt, small bumps, and turns. On a straight section, get up to a safe speed within the limit and let go of the steering wheel for a few seconds. The car should travel straight, without pulling to one side. If the car pulls to the right or left, it could indicate problems with tire pressure, wheel alignment, or the suspension.
Listen to the suspension over bumps. Drive over speed bumps or small potholes. There should be no dull thuds, clunks, or creaks. This could indicate worn shocks, bushings, stabilizer links, or other components. There should be no humming noise during turns, which could signal worn wheel bearings. Try accelerating sharply: the engine should build revs smoothly, without jerks or hesitation.
Pay special attention to the operation of the transmission and brakes. In an automatic, shifts should be smooth, almost imperceptible, without jolts or delays. In a manual, all gears should engage clearly, without grinding, and the clutch should operate smoothly. Check the brakes: on a safe stretch of road, perform several braking actions of varying intensity. The pedal should not be too soft or too hard. There should be no vibrations in the steering wheel during braking (a sign of warped brake discs) or pulling to one side.
Step 6: Documents and Service History
Checking the documents is just as important as the technical inspection. Improperly filed paperwork or legal issues can cause much more trouble than a faulty engine. First, ask the owner for the vehicle registration certificate and their ID. Make sure the seller is the owner of the car or has a general power of attorney with the right to sell. Compare the VIN code in the registration certificate with the numbers on the car's body. It's usually located under the windshield, on the driver's door jamb, and under the hood. Any discrepancies are a serious reason to walk away from the purchase.
Ask to see the service book and any work orders from service centers, if available. A documented service history is a big plus. It shows that the car was cared for, consumables were replaced on time, and necessary repairs were made. Pay attention to the regularity of the entries and the stamps of the service stations. The absence of a service history is not always a bad sign, especially for older cars, but its presence significantly increases trust in the seller.
Before closing the deal, be sure to check the car by its VIN code and license plate number in public databases for any liens, loans, encumbrances, or accident involvement. This can be done online through several government and commercial resources. Such a check will help you avoid buying a car with legal issues that you won't be able to register in your name. Don't just take the seller's word for it; always verify the information yourself.
When Should You Trust the Inspection to Professionals?
A self-inspection allows you to filter out the most problematic options, but it has its limits. You can't assess the condition of the underbody, hidden corrosion, or the wear of many suspension components without putting the car on a lift. You can't read the error codes in the electronic control units without a special scanner. And most importantly, without experience, it's difficult to correctly interpret what you see and estimate the cost of future repairs. Sometimes, what seems like a minor issue is actually a symptom of an expensive malfunction.
A professional pre-purchase inspection at a service center is not an unnecessary expense, but an investment in your peace of mind and savings. At our service center in Kyiv at 12 Tyraspilska Street, such an inspection costs 2 500 ₴ and takes about 1 hour. During this time, a mechanic thoroughly inspects the car on a lift, checks the suspension, brakes, engine, and body, performs computer diagnostics, and takes it for a test drive. This allows us to identify hidden defects, signs of serious accidents, and the true condition of key components and assemblies.
Based on the inspection results, you don't just get a 'good' or 'bad' verdict, but a detailed report on the car's condition. The mechanic will explain which parts are in perfect condition, what will need attention soon, and what requires immediate repair. You will also get an estimated cost for fixing the identified issues. This information is a powerful argument for negotiating with the seller. Often, the amount you manage to reduce the price by far exceeds the cost of the inspection itself. And sometimes, the best result of a diagnosis is walking away from a problematic car, which saves you much more money and stress in the future.
The Bottom Line
A self-inspection before buying a car is an important first step that includes checking the body, interior, engine, documents, and a test drive. However, to uncover hidden defects and get an objective assessment of the technical condition, the best solution is a full diagnostic at a professional service center. If you've found a car you're interested in, schedule a pre-purchase inspection to be confident in your choice.
Frequently asked questions
Book in a minute —
Leave your number and we'll call back. Or share the details so the technician can prepare.
Book nowWhat clients say.
Honest Google reviews. Unedited.